This guide explains how to create, configure, and customize exams in Lectful, including setting up questions, certificates, and advanced exam rules.
Step-by-Step Instructions
1. Access the Exams Dashboard
-
Log in to your Lectful Admin Dashboard.
-
Navigate to Courses & Exams > Exams.
-
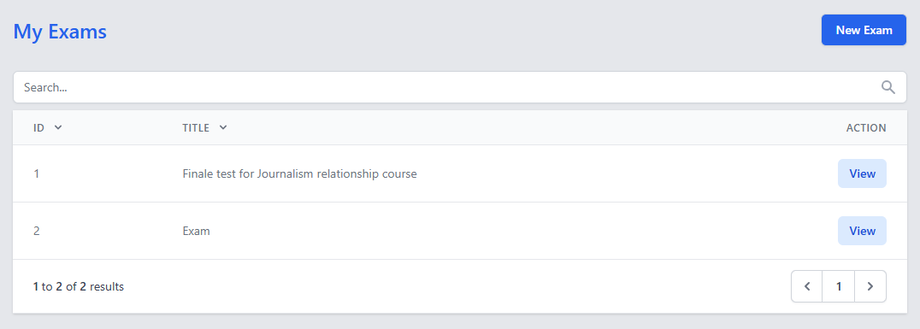
Here, you’ll see a list of existing exams.
-
Click “Add New Exam” to create one.
-
2. Create a New Exam
-
Basic Setup:
-
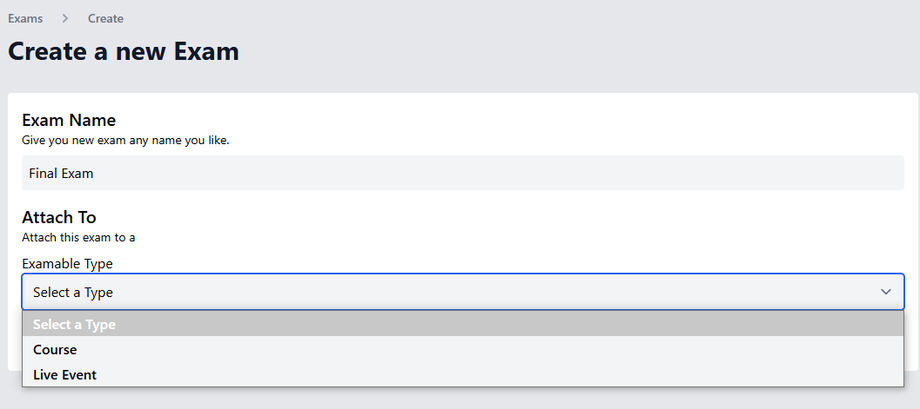
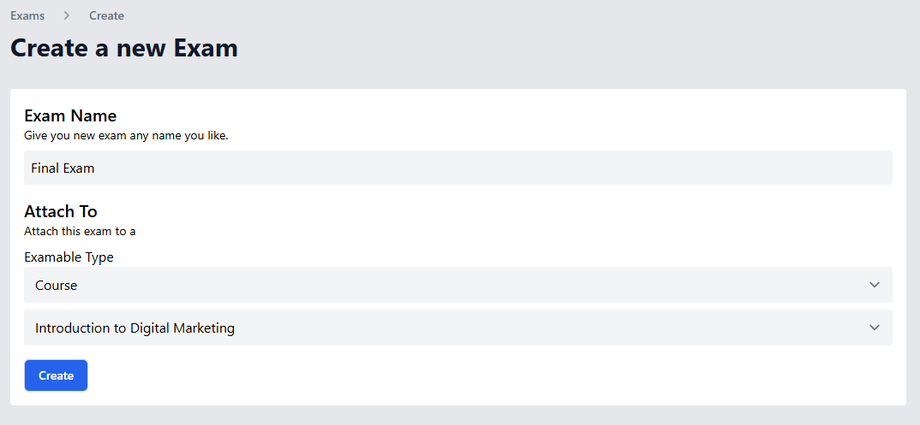
Exam Title: Name your exam (e.g., “Final Test”).
-
Link to: Select either a Course or Live Event from the dropdown.
- Link to: Select a Course or a Live Event from the already created.
-
-
-
Click “Create”.
-
3. Edit Exam Details
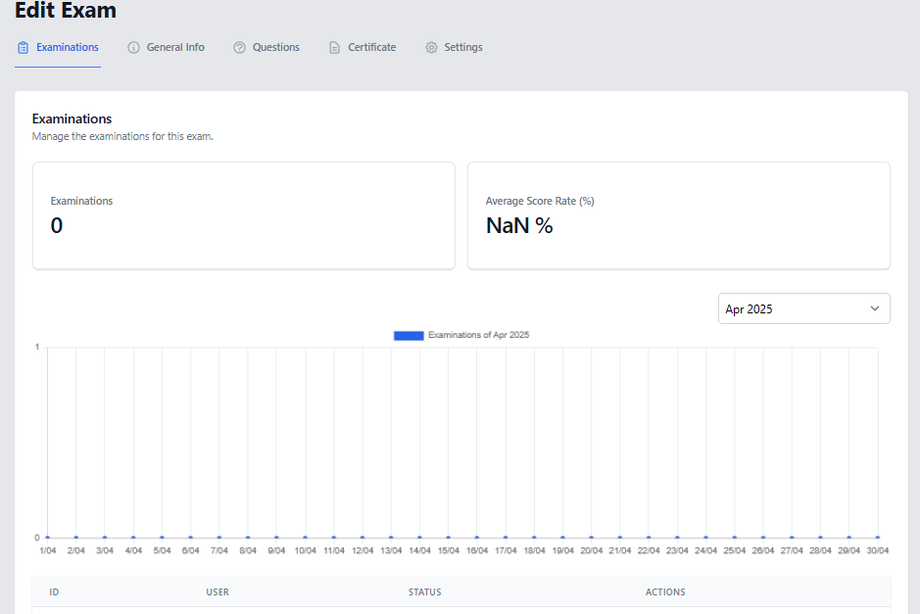
After creation (or by clicking “View” on an existing exam), you’ll land in the Exam Editor.
A. Exam Statistics (Top Panel)
View:
-
Number of Examinations: Total attempts by users.
-
Average Score: Overall performance.
-
Performance per User: Individual results.
B. General Information
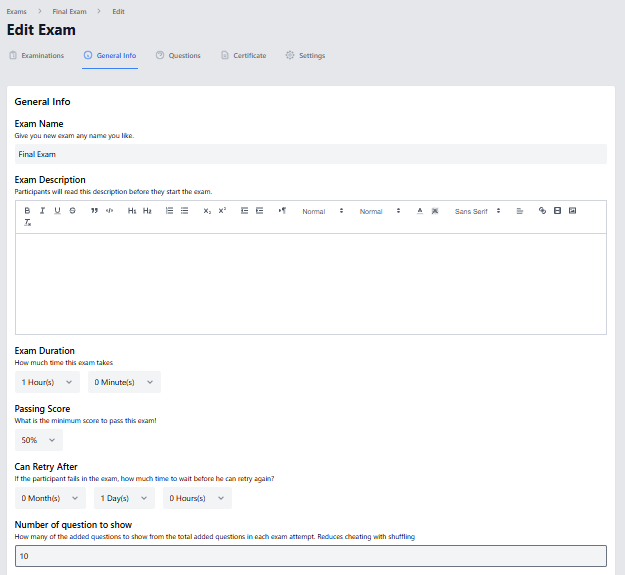
Configure:
-
Description: Explain the exam’s purpose (e.g., “Covers Modules 1–3”).
-
Duration: Set a time limit (e.g., 30 minutes).
-
Passing Score: Minimum % required to pass (e.g., 70%).
-
Retry Waiting Period: If failed, how long users must wait (e.g., 24 hours).
-
Number of Questions to Show: Display a subset (e.g., 20 out of 30 total).
C. Add Questions (MCQs)
-
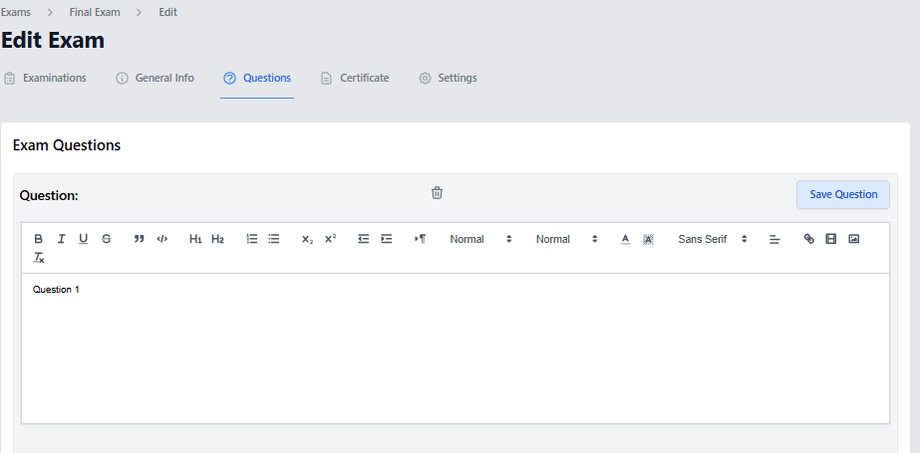
Navigate to the Questions tab.
-
Click “Add Question” and fill in:
-
Question Text (e.g., “What is the defintion of digital marketing?”).
-
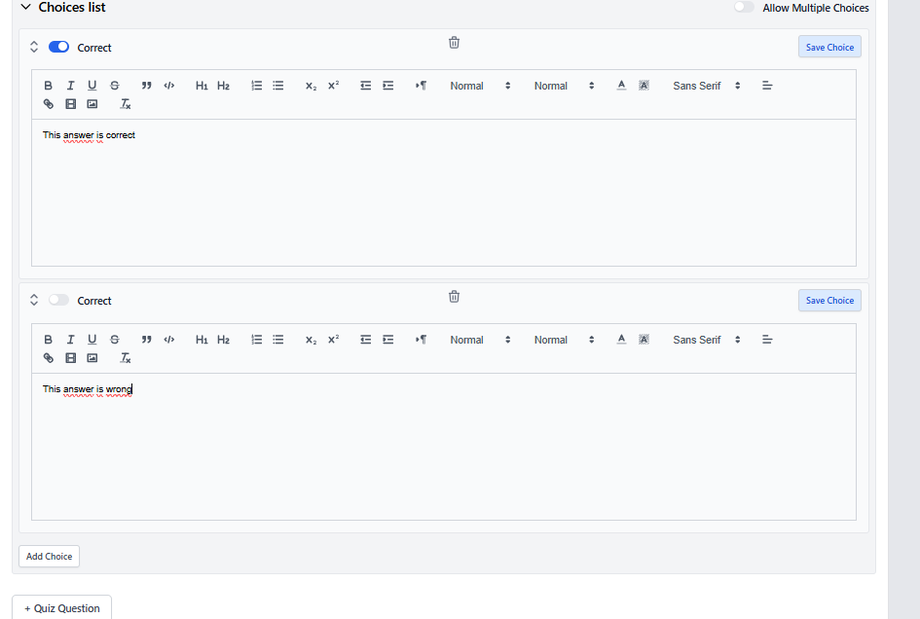
Answer Choices (provide 2–5 options and you can allow for multiple choices).
-
Correct Answer: Mark the right choice.
-
D. Set up Certificates
-
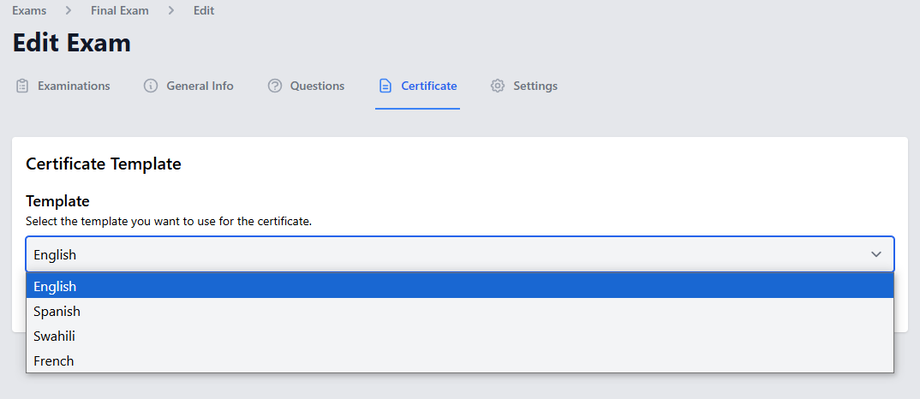
Go to the Certificate tab.
-
Select a pre-designed template.
-
The certificate will contain:
-
Recipient Name: Auto-pulled from user profiles.
- Course Name
-
Issue Date: Auto-generated on passing.
-
Digital Signature and QR Code.
-
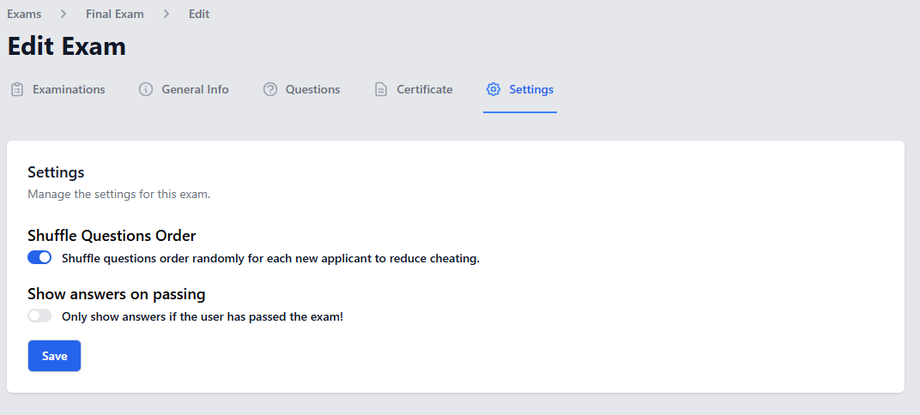
E. Configure Exam Settings
Under the Settings tab:
-
Shuffle Questions: Ensures each user gets a unique order.
-
Show Answers on Passing: Reveals correct answers only after passing.


