This guide explains how to create, schedule, and monetize live events in Lectful, including session management, enrollment tracking, and advanced settings like exam restrictions.
Step-by-Step Instructions
1. Access the Live Events Dashboard
-
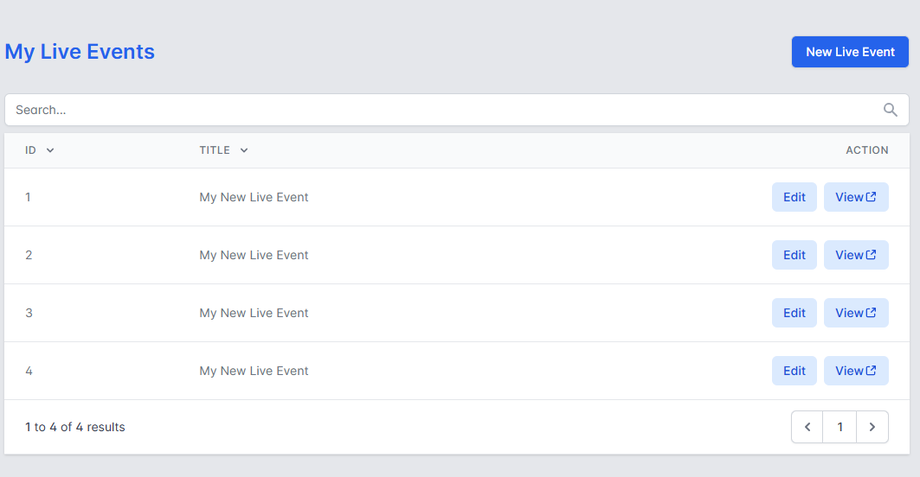
Log in to your Lectful Admin Dashboard.
-
Navigate to Courses & Exams > Live Events.
-
View existing events or click “New Live Event”.
-
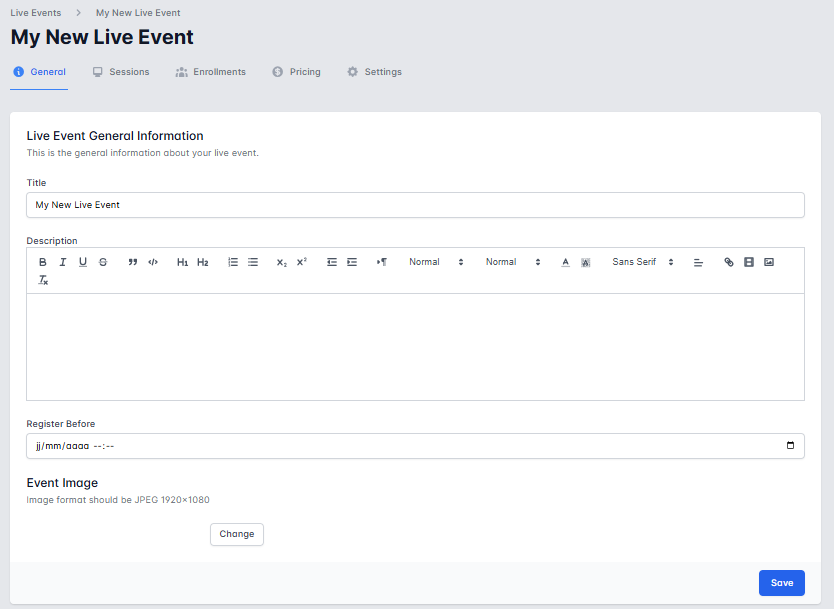
2. Set Up General Event Information
-
Title/Description: Name and describe your event.
-
Register Before Date: Enrollment deadline.
-
Event Image: Upload a cover (1920x1080px recommended).
3. Add Live Sessions
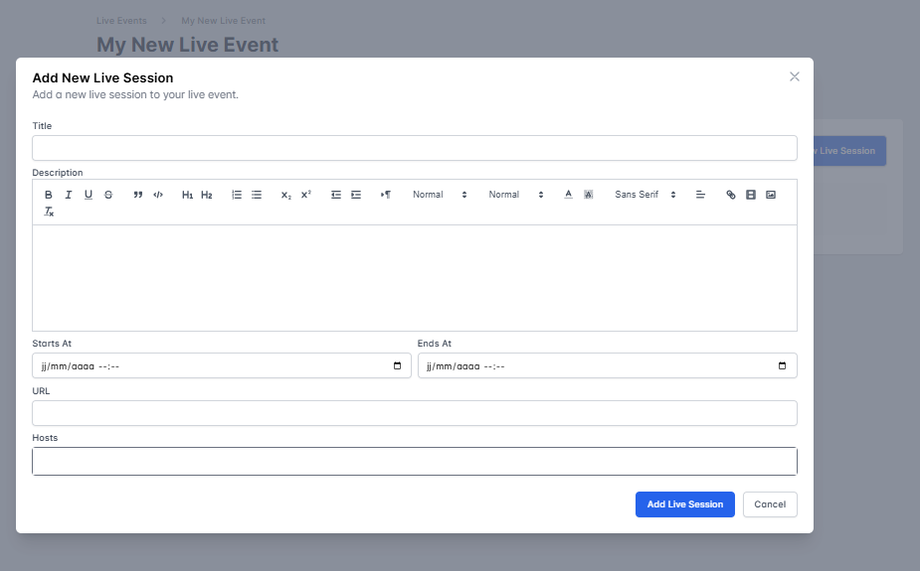
Under the Sessions tab, click “New Live Session”. You can also in that tab see existing sessions.
Enter:
-
-
Title/Description (e.g., “Day 1: Introduction”).
-
Start/End Time and Video Conference URL (Zoom/Teams/etc.).
- Hosts: Admins or users responsible of the organization of the session.
-
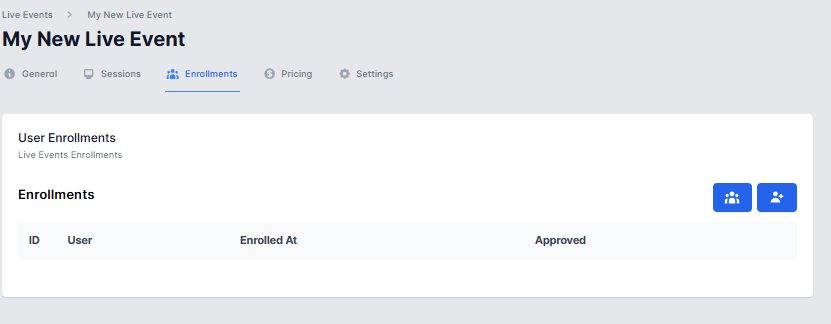
4. Monitor Enrollments
-
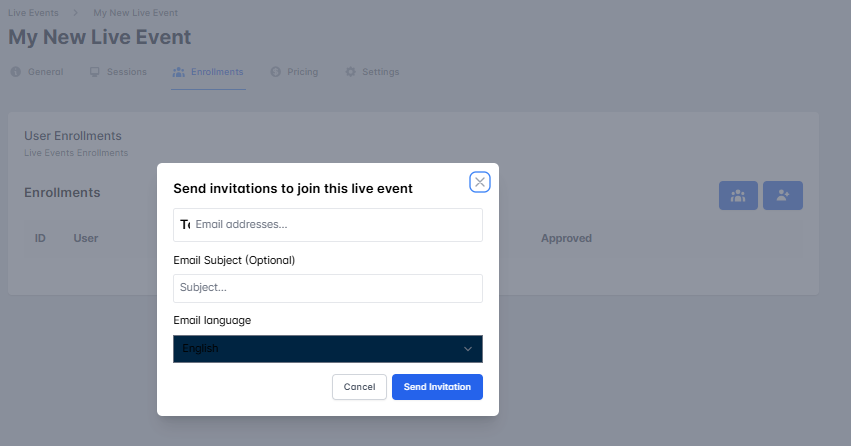
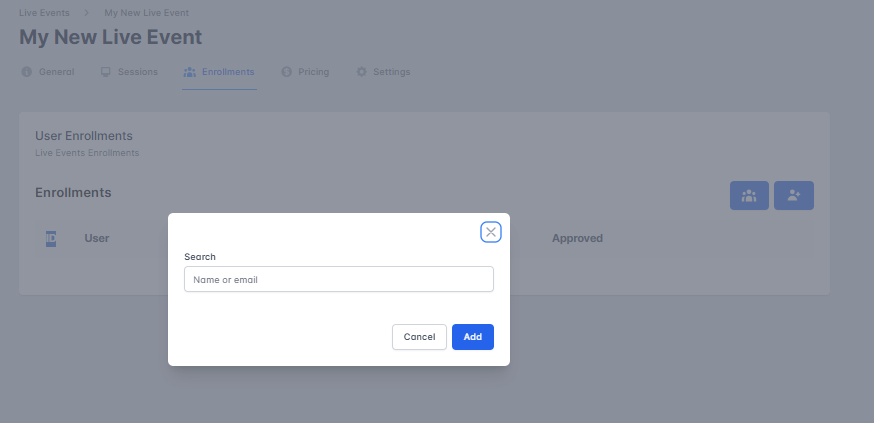
Navigate to the Enrollments tab to:
-
See registered users.
-
5. Set Pricing & Monetization
-
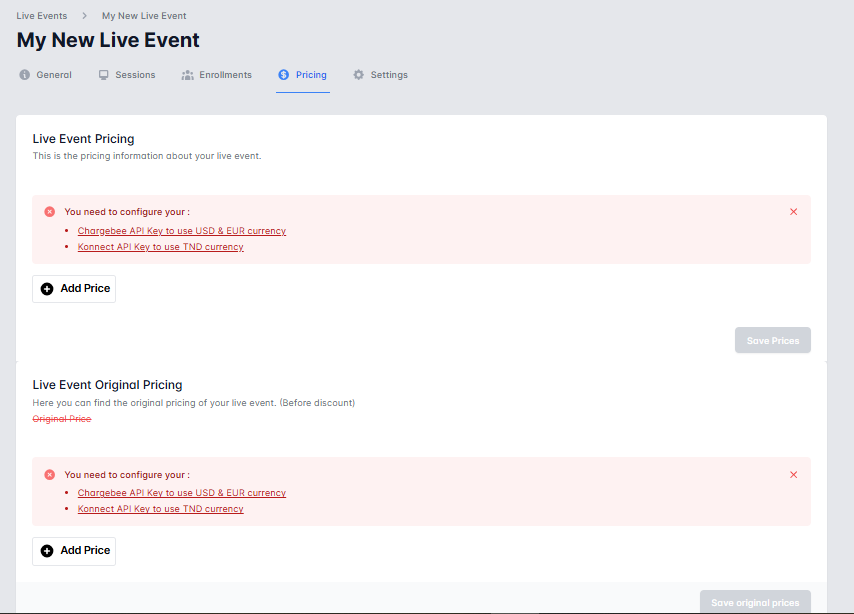
Go to the Pricing tab to:
-
Enable paid access with fixed prices or discounts.
-
6. Configure Live Event Settings
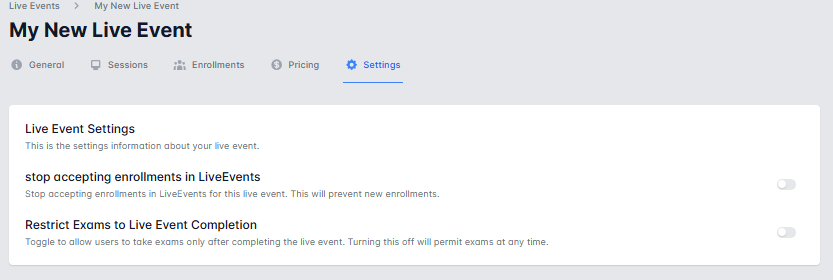
Under Settings, toggle:
-
Restrict Exams to Live Event Completion.
-
Stop Accepting Enrollments.
7. Assign Exams (Optional)
-
Link exams in the Exams tab.
-
Use Restrict Exams (in Settings) to enforce attendance first.


