Create Consistent Navigation Across Your Site
Accessing Header & Footer Settings
-
Go to Admin Dashboard > Settings > Theme
-
Scroll to find:
-
Header Widget section
-
Footer Widget section
-
-
Choose to edit or delete existing designs or create new ones
Customizing Your Header
1. Editing the Header
-
Click "Edit" on the header widget
-
You'll enter BuilderX to customize the suggested header.
2. Key Customization Options
-
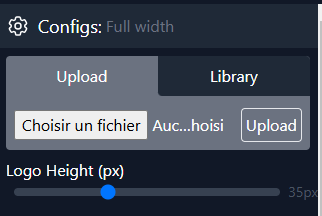
Logo Settings:
-
Upload your logo (or use default from theme settings)
-
Adjust logo height
-
-
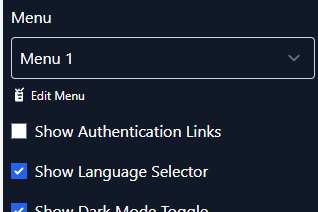
Navigation Elements:
-
Add/maintain menu links
-
Include authentication links (Login/Signup)
-
Add language selector
-
Include dark/light mode toggle
-
-
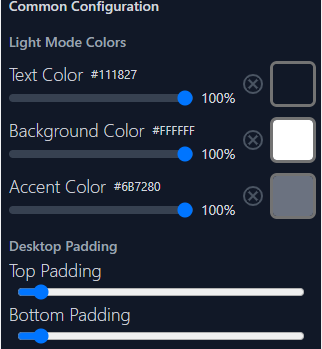
Style Customizations:
-
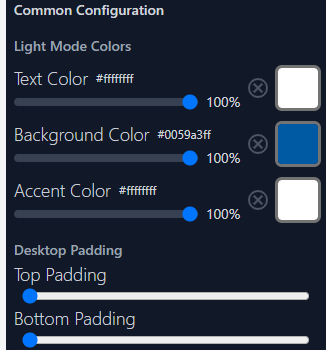
Background color
-
Text colors
-
Button styles
-
Padding and spacing
-
Customizing Your Footer
1. Editing the Footer
-
Click "Edit" on the footer widget
-
Access BuilderX with suggested footer to modify
2. Key Customization Options
-
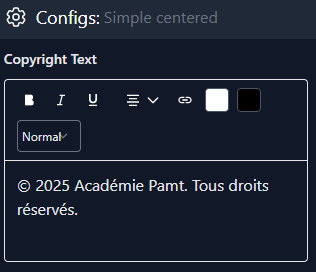
Copyright Text:
-
Edit default text
-
Add multiple lines if needed
-
-
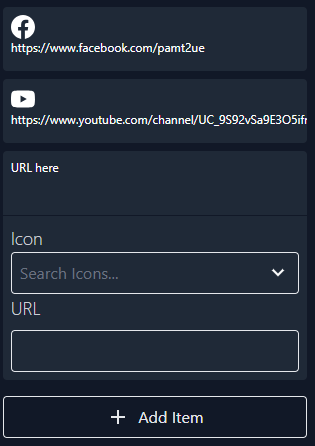
Social Media Links:
-
Add icons for your social media
-
Link the added icons to your profiles
-
-
Style Customizations:
-
Background colors
-
Text colors
-
Button styles
-
Section padding
-
Managing Menus
1. Creating New Menus
-
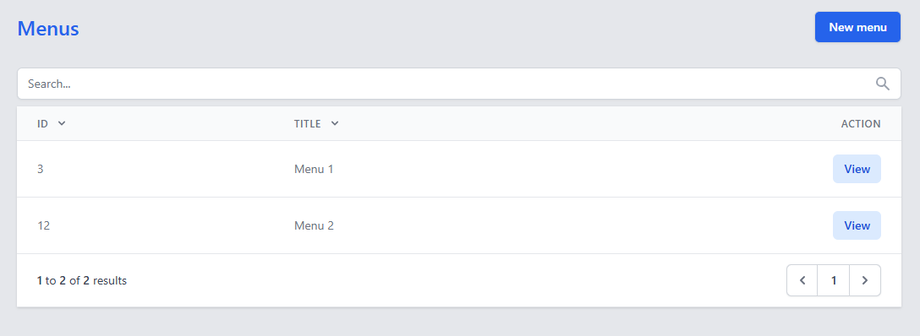
Go to Settings > Menus
-
Click "New Menu"
-
Name your menu (e.g., "Main Navigation")
-
Save and click "View" to edit or delete
2. Building Menu Structure
-
Add Top-Level Items:
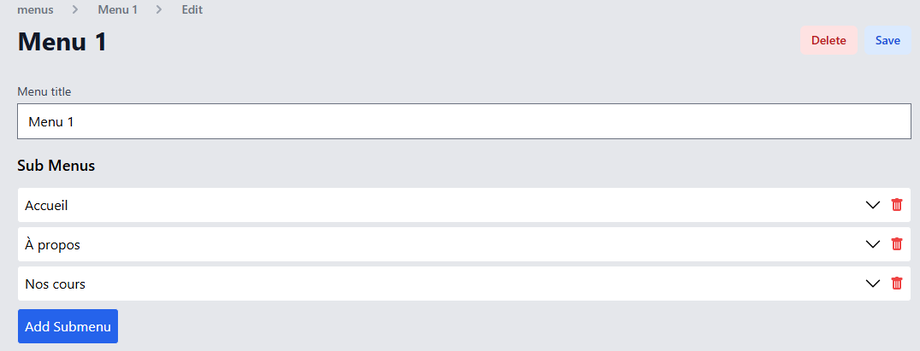
- To add those items, you have to add submenu and name it and link it to the URL.
-
-
Links to pages/courses
-
External URLs
-
Section dividers
-
-
Create Submenus:
-
Add new submenu item
-
Drag it slightly right under parent item
-
For nested submenus (3rd level), repeat the process
-
Best Practices
✔ Keep headers simple - Focus on key navigation
✔ Make footers comprehensive - Include important links
✔ Test menu dropdowns on mobile devices


