

Boost Engagement & SEO with a Professional Blog
Accessing the Blog Dashboard
-
Log in to Admin Dashboard
-
Navigate to Blog section
-
Choose between Categories or Posts management
1. Managing Blog Categories
View Existing Categories
-
Search bar: Find specific categories
-
Category list shows:
-
Title & description
-
Number of associated posts
-
Edit/delete options
-

Create New Categories
-
Click "Create Category"
-
Fill the simple form:
-
Title (e.g., "Digital Marketing Tips")
-
Description (2-3 sentences)
-
-
Save by clicking on the button "Create Category"

✅ Best Practices:
✔️ Limit to 5-10 main categories
✔️ Use keywords in titles
✔️ Keep descriptions clear
2. Creating & Managing Blog Posts
Posts Overview Table
-
All articles with:
-
Title
-
Status (Published/Draft)
-
Author
-
Publish date
-
-
Filter: By status
- Search bar: By title
-
Actions: Edit, delete, preview

Create New Post
-
Click "Create New Post"
-
Complete the form:
Content Section
-
Title: Attention-grabbing headline
-
Excerpt: 1-3 lines introduction
-
Content: Full article using Quill editor that supports:
-
Text formatting
-
Links
- Quotes
-

Settings Section
-
Featured Image (1200×630px recommended)
-
Categories (select 1-3 relevant ones)
-
Author (select from users)
-
Status: Publish immediately or save as draft
-
Publish Date: Schedule for future

SEO Optimization
-
Meta Title (50-60 chars)
-
Meta Description (150-160 chars)
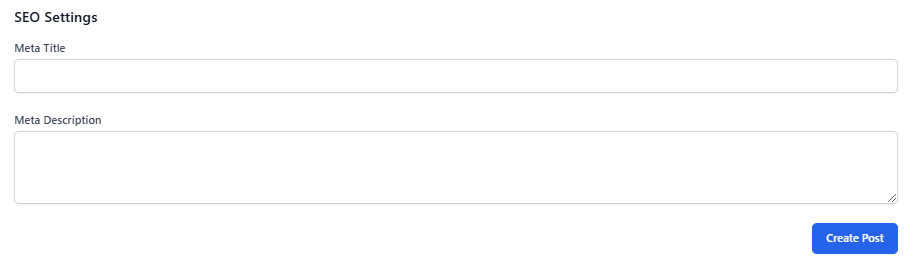
Save your post by clicking on button "Create Post".
Blogging Best Practices
✍️ Post regularly (1-2x/week ideal)
🔍 Use keywords naturally in content
🔗 Internal link to related courses/posts